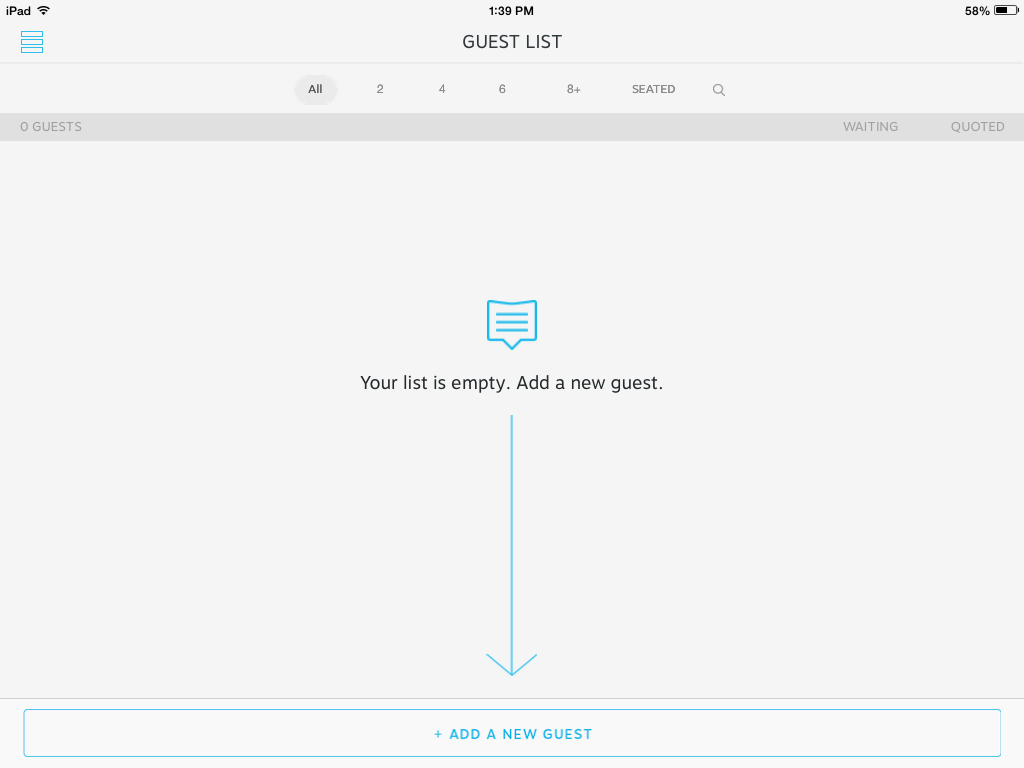
Step 1: If your wait list is empty you can get started by tapping the button at the bottom of the screen that says Add a New Guest.
Step 2: A panel will appear on the left side of the screen that contains New Guest fields.
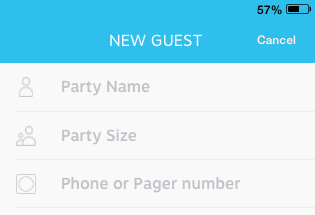
- Party Name - Start by adding the name of your guest.
- Party Size - Type the corresponding number (keyboard will default to the numbers section for easier entry).
- Phone or Pager number - Add a phone number or if your restaurant offers pagers as a second option, you can also add a pager number. The icon next to this field changes depending on the number of characters entered, identifying the notification device as pager or phone as appropriate.
Step 3: You can then scroll sideways to the quote with the appropriate wait time and corresponding expected seating time.
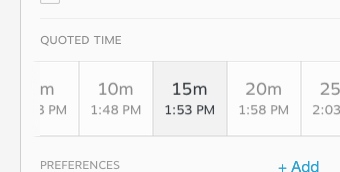
Step 4: Guest Preferences can be added to the wait list as well. The preferences listed in the screenshot are the default options available upon downloading the app, but these can be customized in the Settings section. Of course, multiple preferences can be selected. Once all Options are selected then select +Add Preferences. You can also add Notes - This is a free form field to capture notes such as anniversary or birthday.

Step 5: With the fields complete, a time quoted and any preferences selected, you are now ready to Add to List the guest.